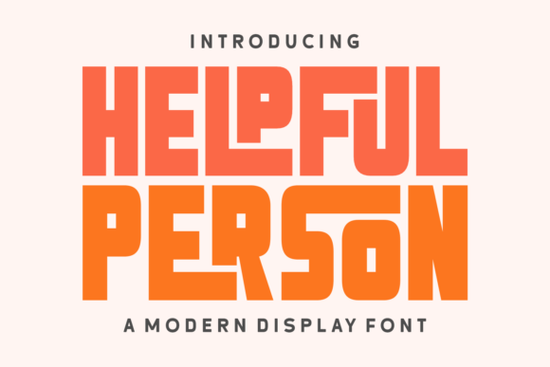
If you need a typeface that brings 70s nostalgia to your headers without feeling outdated, the Helpful Person Font delivers exactly that. It mixes heavy block lettering with soft curves and playful ligatures, making it a reliable choice for seasonal campaigns, vintage-inspired apparel, and bold branding. Designers, print-on-demand sellers, and small business owners often need a display font that grabs attention quickly but still reads clearly at larger sizes. This one fits that gap by balancing retro charm with clean, modern spacing.
What makes this retro typeface work for holiday and vintage projects?
The design leans into warm, familiar shapes that remind viewers of classic packaging and old-school event posters. The thick strokes give your titles enough weight to stand out on crowded social feeds, while the rounded edges keep the mood friendly. That combination works especially well for Christmas and Thanksgiving promotions, retro clothing labels, and editorial covers. When you are building a seasonal collection, a font with built-in character saves you from adding extra decorative elements.
If you enjoy blending old and new aesthetics, you might want to browse other typefaces that blend retro and contemporary styles. The goal is to pick a letterform that feels nostalgic but still prints cleanly on modern materials like cardstock, vinyl, and fabric transfers.
Where does a chunky display font fit best in your workflow?
Display typefaces are not meant for body copy. They shine in short bursts where visual impact matters more than long-form readability. Here is where this style typically performs well:
- Storefront banners and sale graphics that need instant visual hierarchy
- Product packaging and hang tags for handmade goods
- Event posters and gig flyers that rely on bold typography
- Print-on-demand apparel where thick letters hold up during screen printing
Keep the text short and give the letters room to breathe. Pair it with a simple sans serif for descriptions or pricing, and the contrast will keep your layout balanced. Remember to increase line height slightly when stacking words, since heavy blocks can easily touch and create visual noise.
How do I access the special ligatures and alternate glyphs?
One of the most practical features here is the PUA encoding. You do not need professional design software to reach the extra characters. Programs like Cricut Design Space, Silhouette Studio, Canva, and standard word processors can pull up the ligatures without extra plugins. Open your system’s character map, copy the symbol you want, and paste it directly into your text box.
This setup helps crafters and hobbyists who switch between different apps. You get the same decorative swashes whether you are cutting vinyl decals or laying out a small business logo. To see how this typeface compares to others in the same family, you can explore the full collection of display options for additional styling ideas.
What should I pair it with for balanced layouts?
Because the letterforms are already bold, your supporting text should stay quiet. A clean geometric sans serif or a light serif works best for paragraphs and fine print. Avoid pairing it with another heavy display font, since competing weights will make your design feel cluttered. If your project calls for a more playful mood, you could test rounded, playful alternatives for children’s products, or switch to something fresh like bright, seasonal lettering for summer market stalls. For a quirky, hand-drawn feel that still reads well at large sizes, quirky, hand-drawn choices offer a nice contrast to structured retro blocks.
You can also preview the Helpful Person Font directly on the marketplace to check spacing and how the ligatures behave in real-time mockups.
How do I get the best results before hitting print or publish?
Typography mistakes usually happen during the final export stage. A quick pre-flight check saves time and prevents misaligned text on physical products. Keep these steps in mind:
- Test at actual size. View your design at 100% zoom to catch tight kerning.
- Convert to outlines. Outline the text before sending files to a professional printer.
- Check contrast ratios. Thick retro letters need a clean background, especially on dark apparel.
- Limit to three lines max. Keep headlines short and move details to a secondary font.
- Export correctly. Use PNG for digital mockups, and PDF or SVG for cut files.
Type out your main headline, toggle a few ligatures, and place it over a simple background. If the words read clearly from a few feet away and the mood matches your brand, you are ready to move forward. Save your pairing presets, note which glyphs work best for your niche, and reuse the same layout structure for faster turnaround on your next release.
Try It Free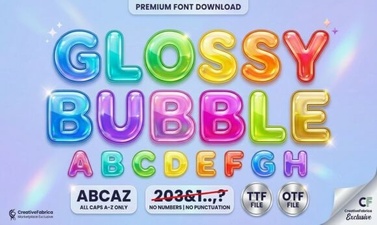 Get Creative with Glossy Bubble Fonts
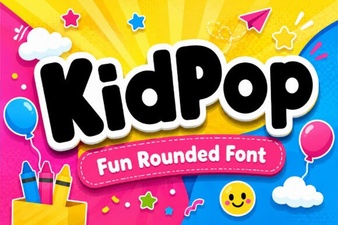 Kidpop Fonts: Playful Designs for Creative Projects
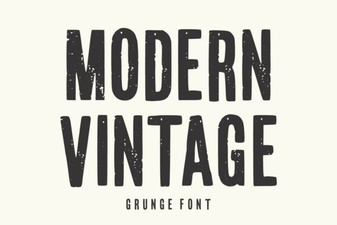 Modern Vintage Fonts for Creative Design Projects
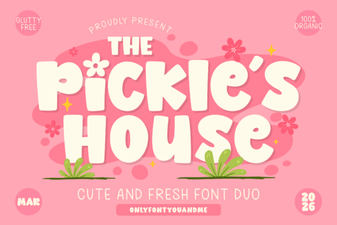 Design with the Pickles House Font
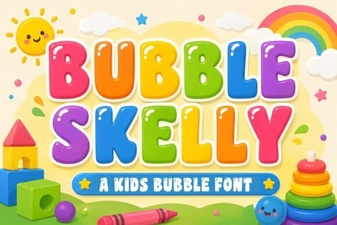 The Bubble Skelly Font for Creative Designs
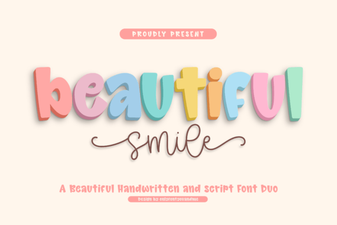 Beautiful Smile Fonts for Designers & Creatives